Overview
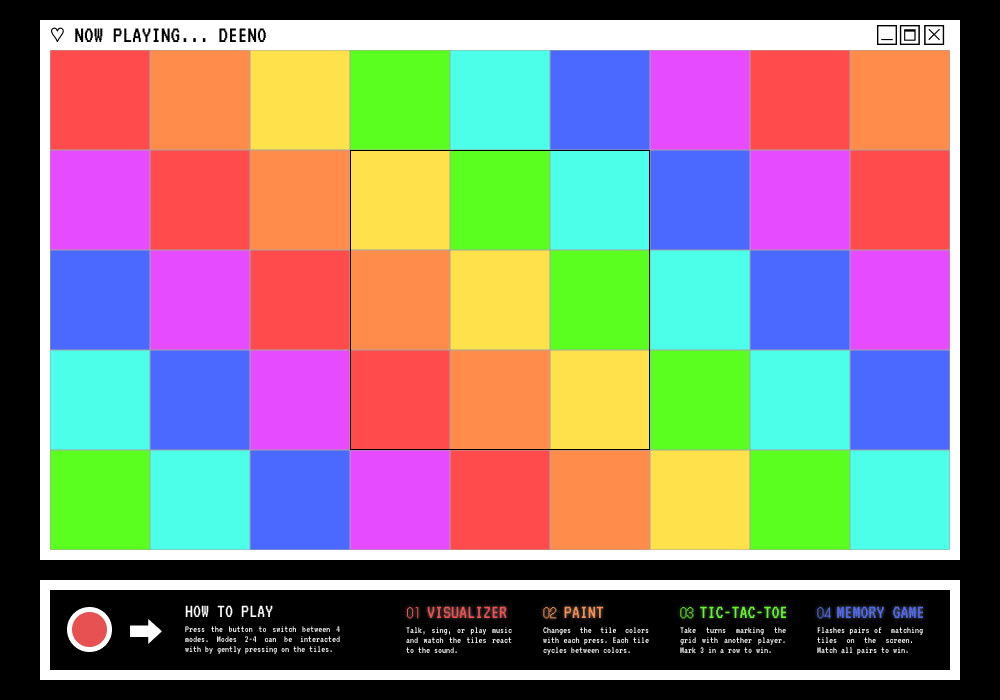
The Deeno board is an interactive LED display. To play, press the button to switch between four game modes. Modes 2-4 can be interacted with by gently pressing on the tiles.
- Audiovisualiser: Talk, sing, or play music and watch the tiles react to the sound.
- Paint: Changes the tile colors with each press. Each tile cycles between colors.
- Tic Tac Toe: Take turns marking the grid with another player. Mark 3 in a row to win.
- Memory Game: Flashes pairs of matching tiles on the screen. Match all pairs to win.
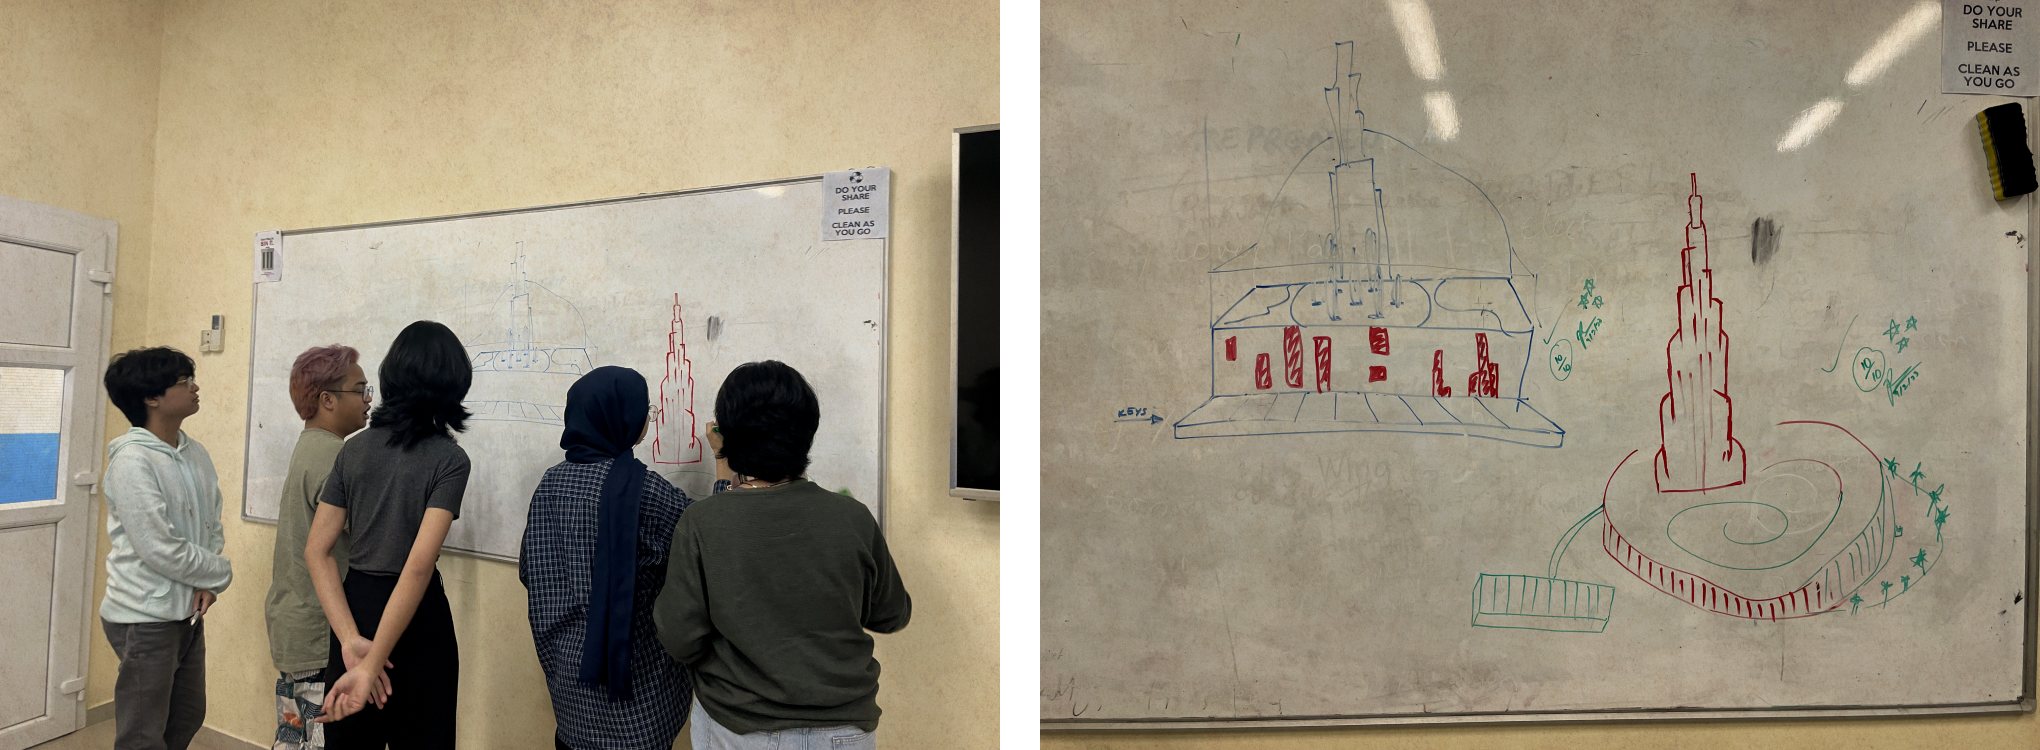
The objective behind this project is to have something fun to interact with for any passerby in the hallways of the Bath Spa RAK campus.
Main Components
The DeenoBoard code incorporates several main functional components. These features include a button matrix and mic for input, an LED display for output, and four different modes for interaction.
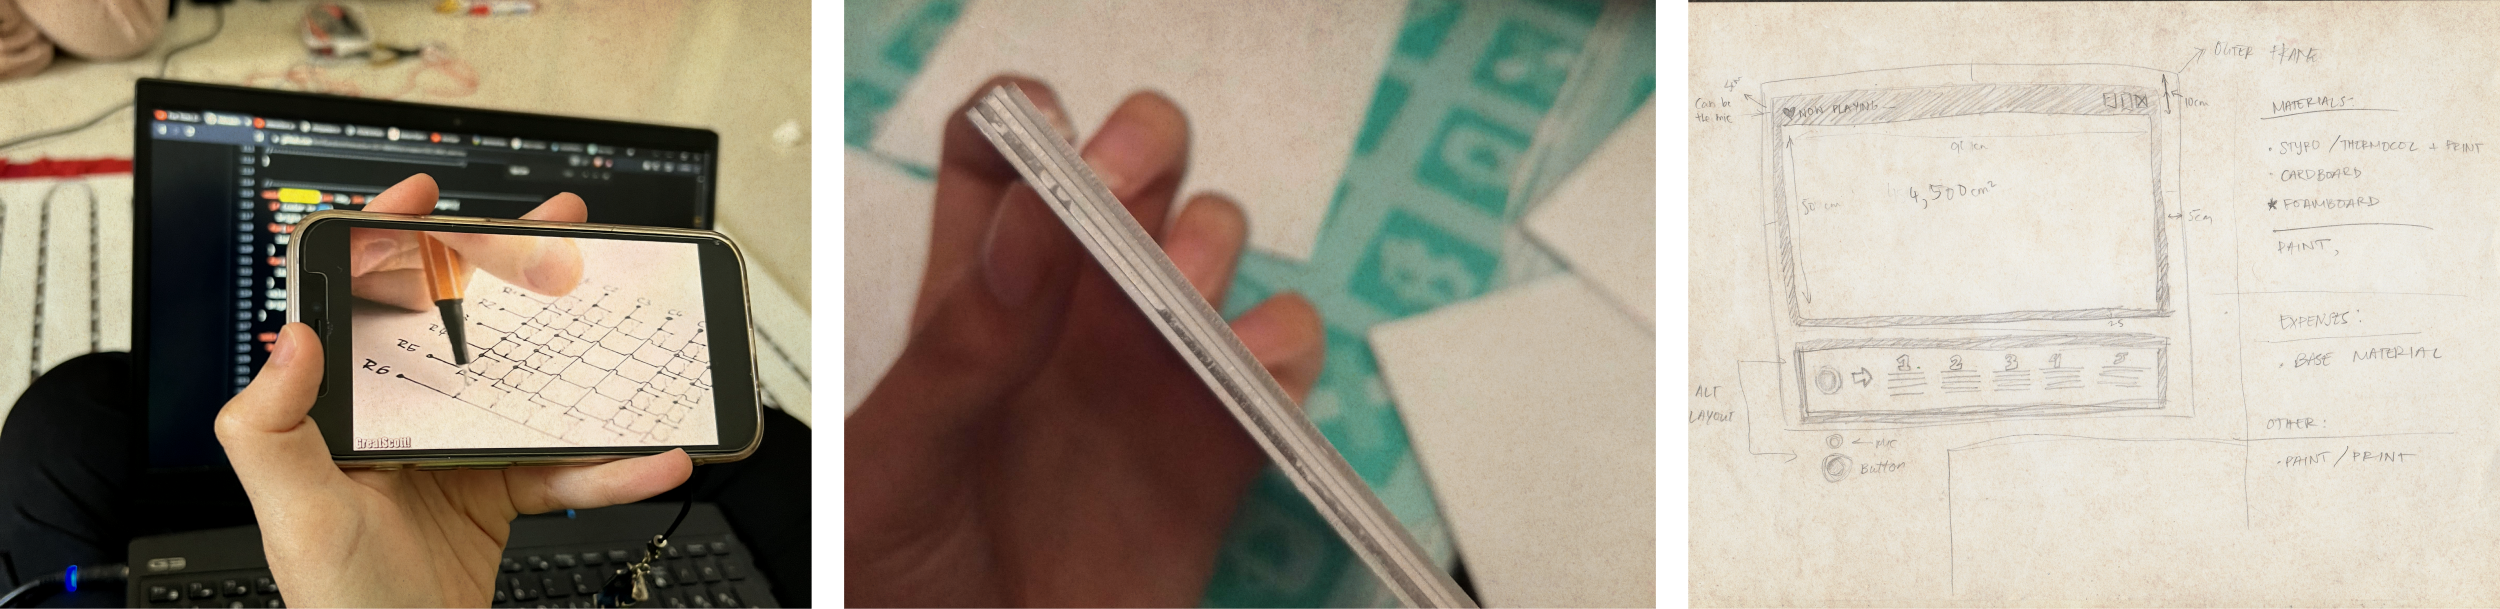
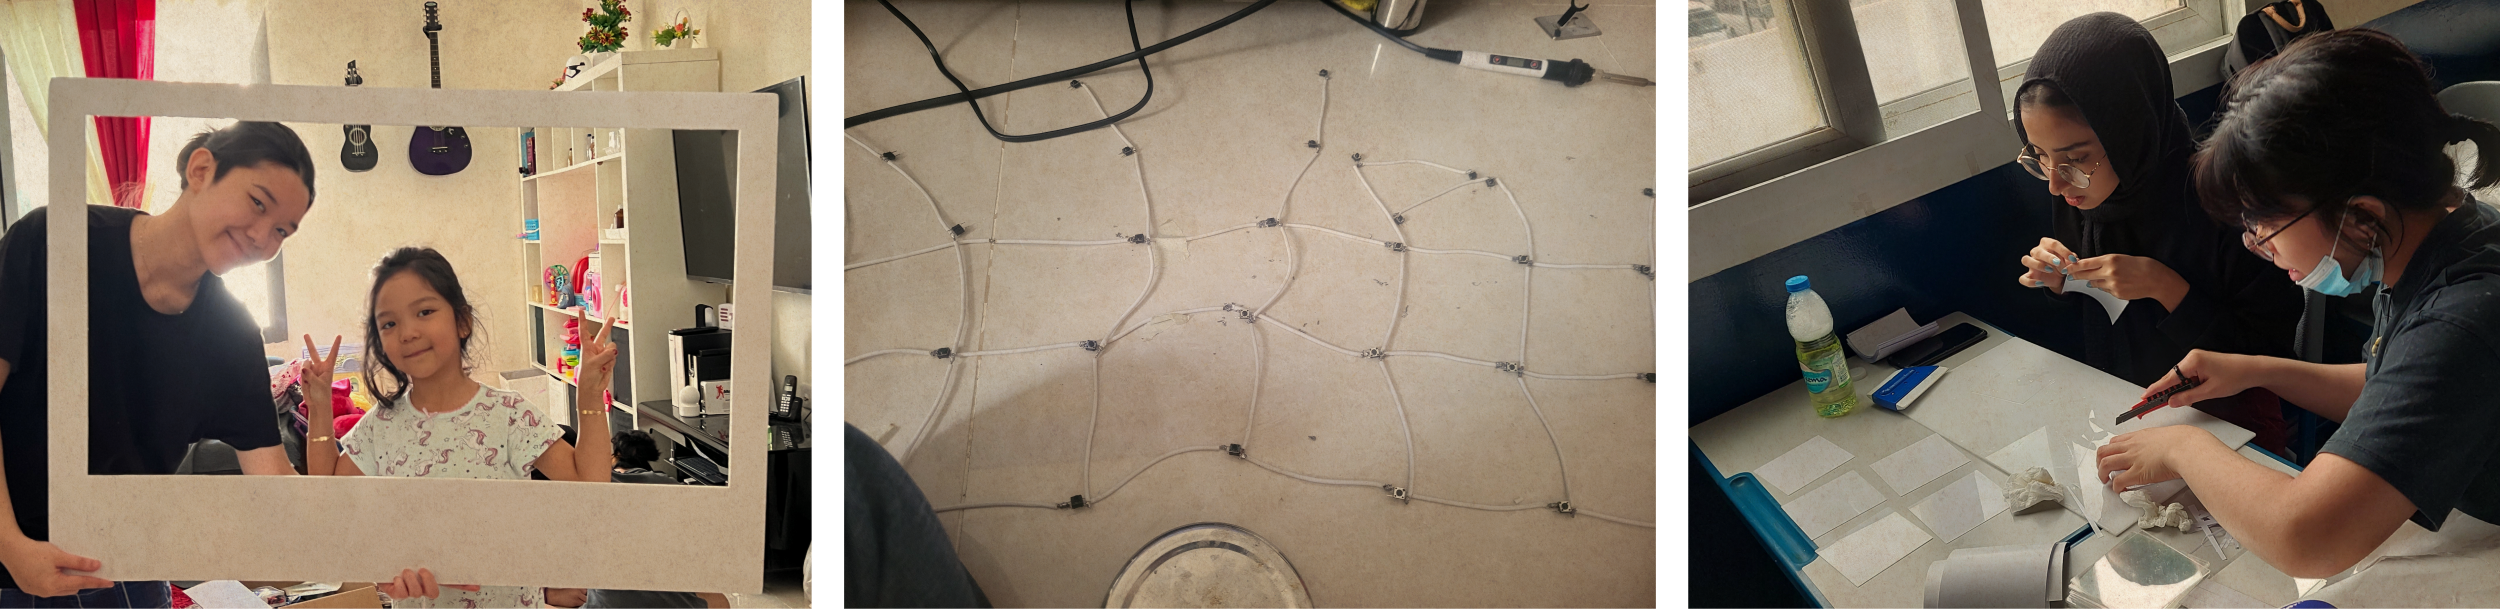
Button Matrix
To enable user input, the code utilizes the keypad library, which creates a button grid using specified row and column pins. This allows for the tracking of button positions and facilitates user interaction with the DeenoBoard.
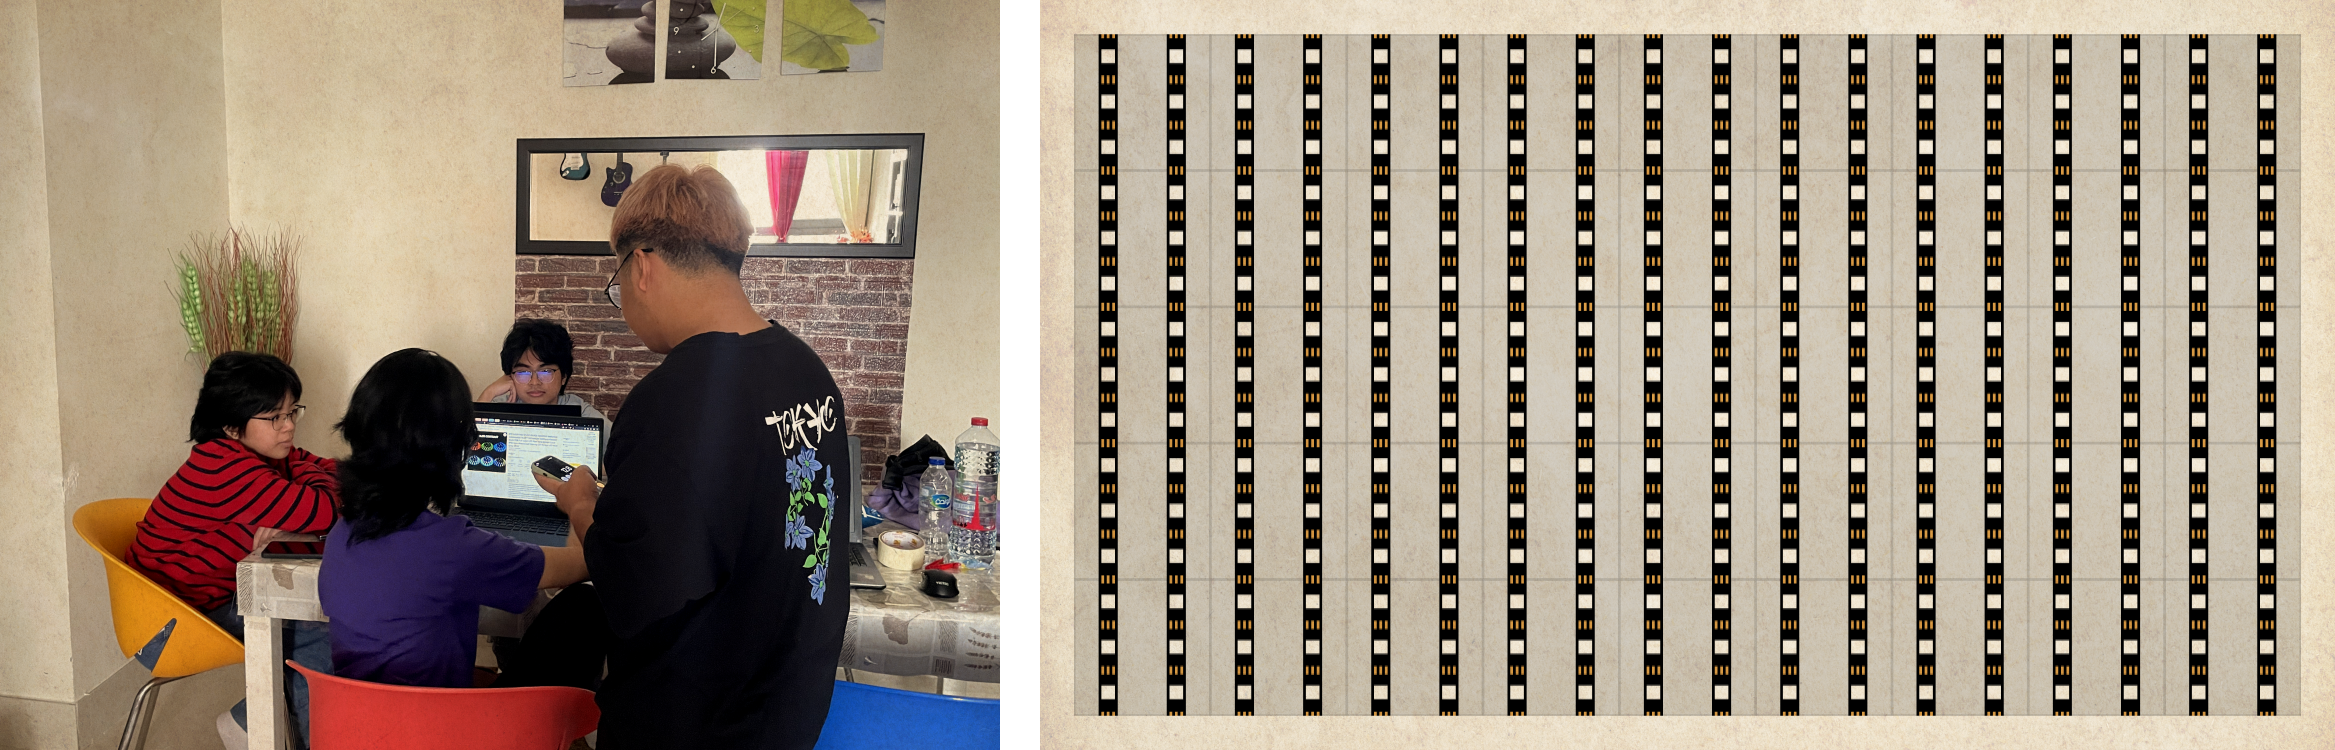
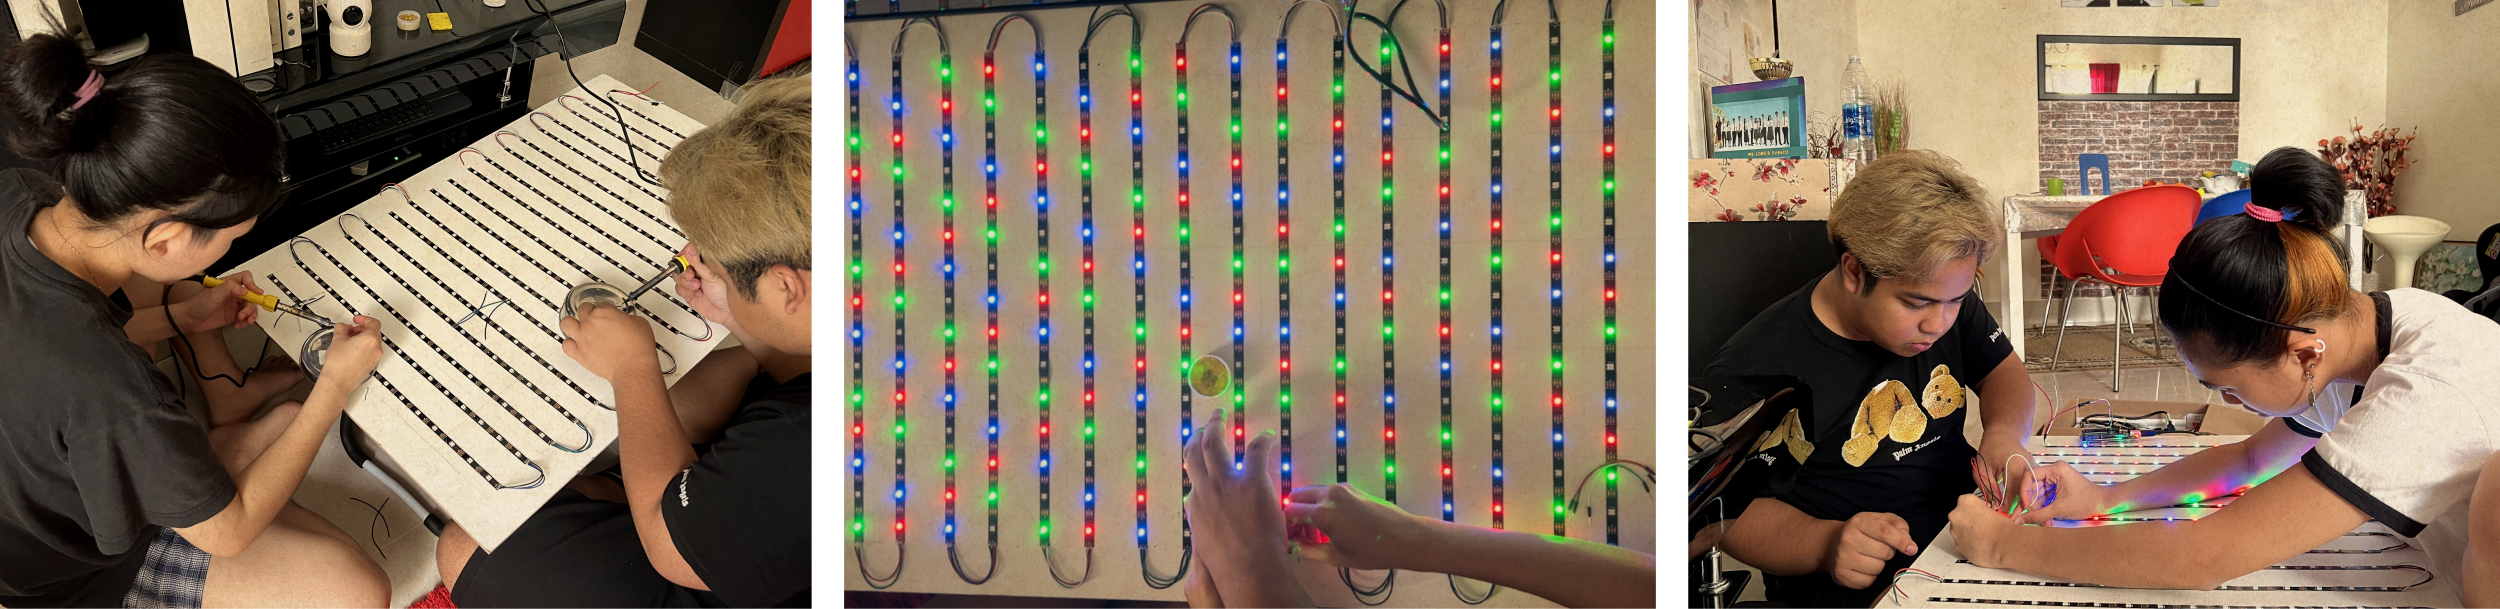
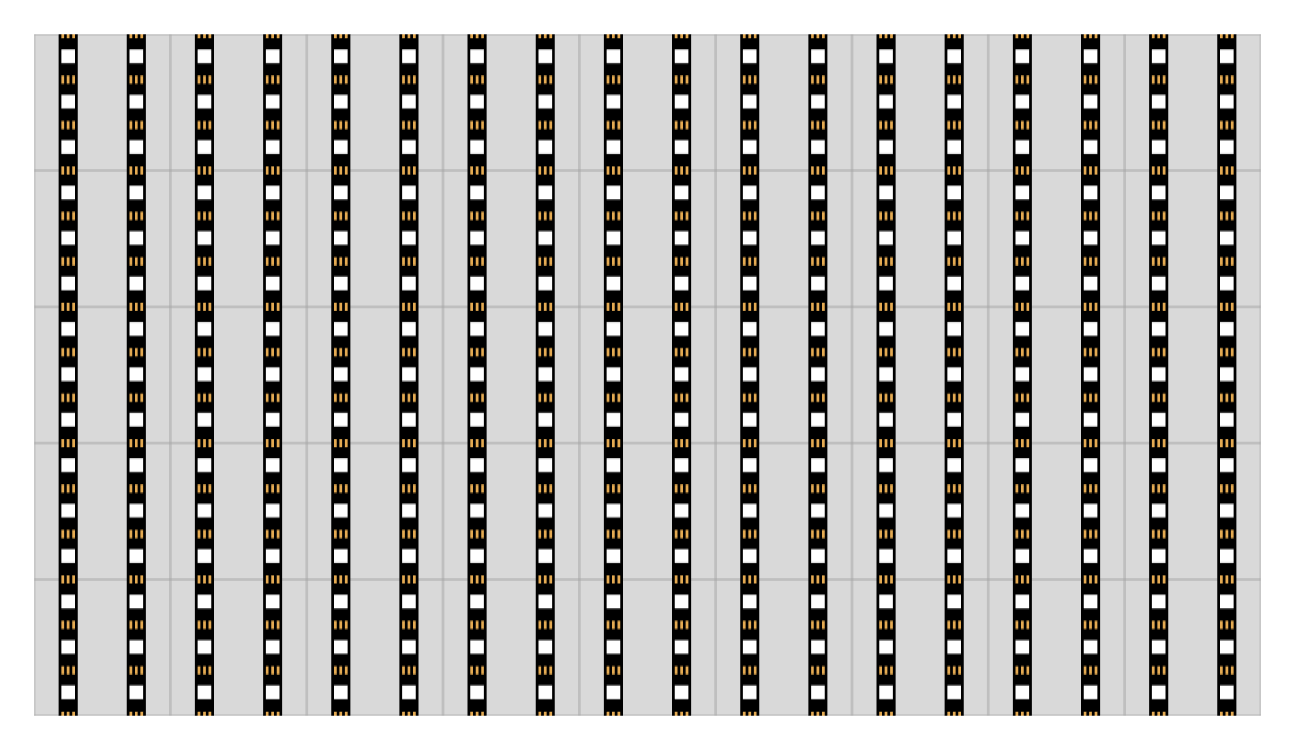
LED Display
The LED display on the DeenoBoard is represented as a 1D array of LEDs. These LEDs are arranged in an alternating pattern on the board. The code includes the "light_tile()" function, which creates a tile on the LED display by illuminating six individual LEDs divided between two LED strips. By considering the length of the LED strips and the alternating pattern, the function accurately determines which LED pair corresponds to a button press, lighting up a rectangular tile on the display.
Mode Switching
The DeenoBoard features four different modes, with three modes interacting with the button matrix and one mode utilizing the microphone input. To switch between these modes, a separate button is placed outside the button matrix. The code includes the "isModeBtnPressed" function, strategically placed in each mode, to detect when the mode switch button is pressed. This allows users to switch between modes at any time during operation.
Schematic

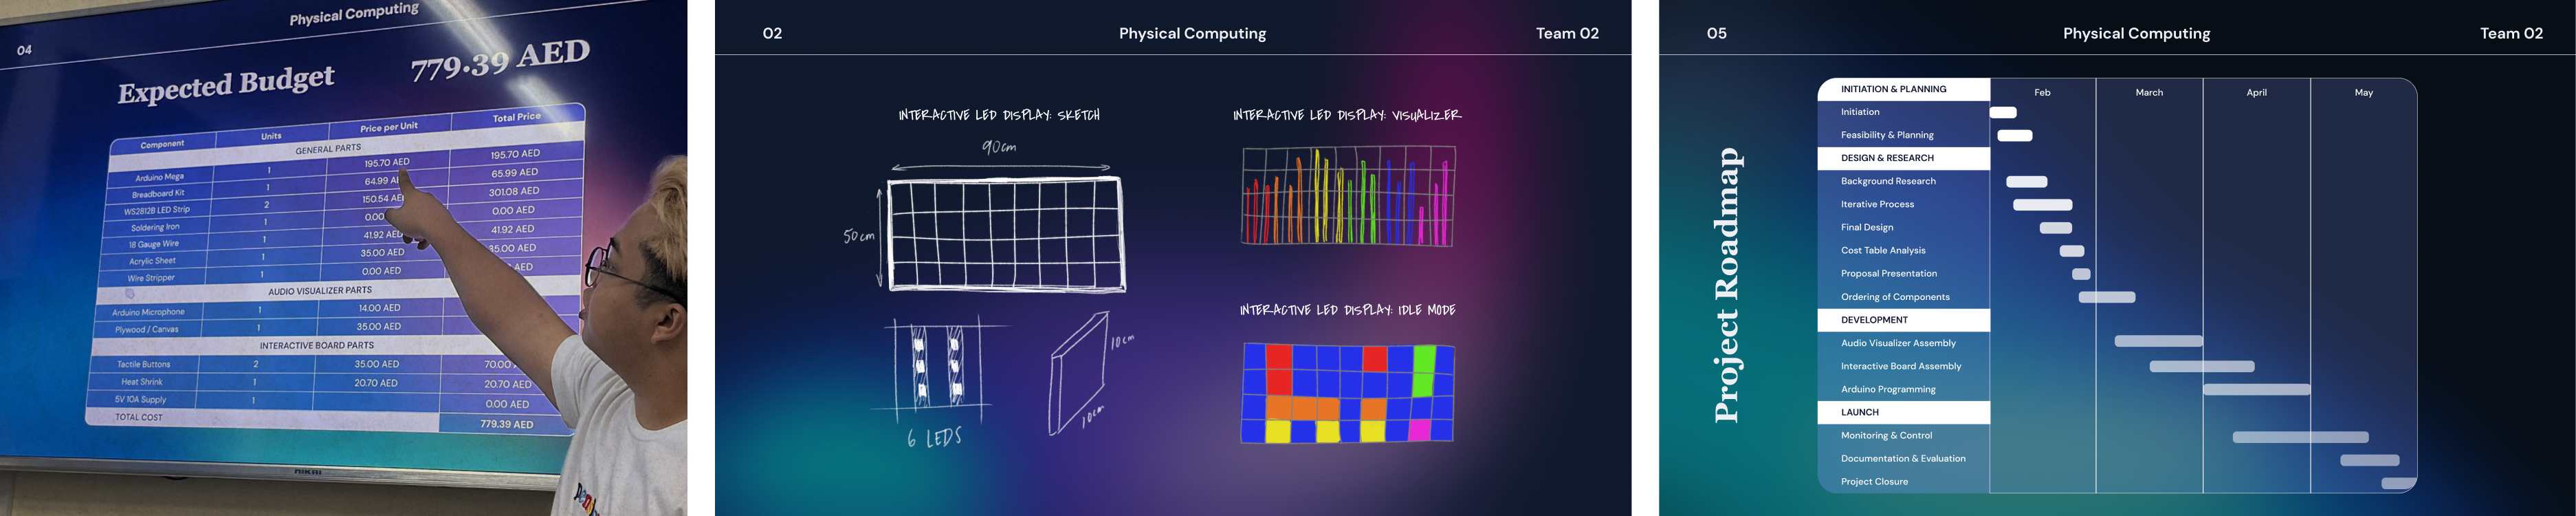
Parts Required
- 1x Arduino Mega
- 1x Sound Sensor Module
- 1x Switch Button
- 1x 5V 40A Power Supply
- 2x WS2812B LED Strip
- 45x Tactile Buttons
- 45x Acrylic Sheets
- 25m Speaker Wires / 18 Gauge Wires
- 8m Thin Wires
- Hot Glue Gun & Glue Sticks
- Soldering Iron & Solder Wire
- Voltmeter
- Vinyl Stickers
- Plastic Dowels
- Melamine Sponges
- Plywood
- Foam Board
- Forex Sheet
Design
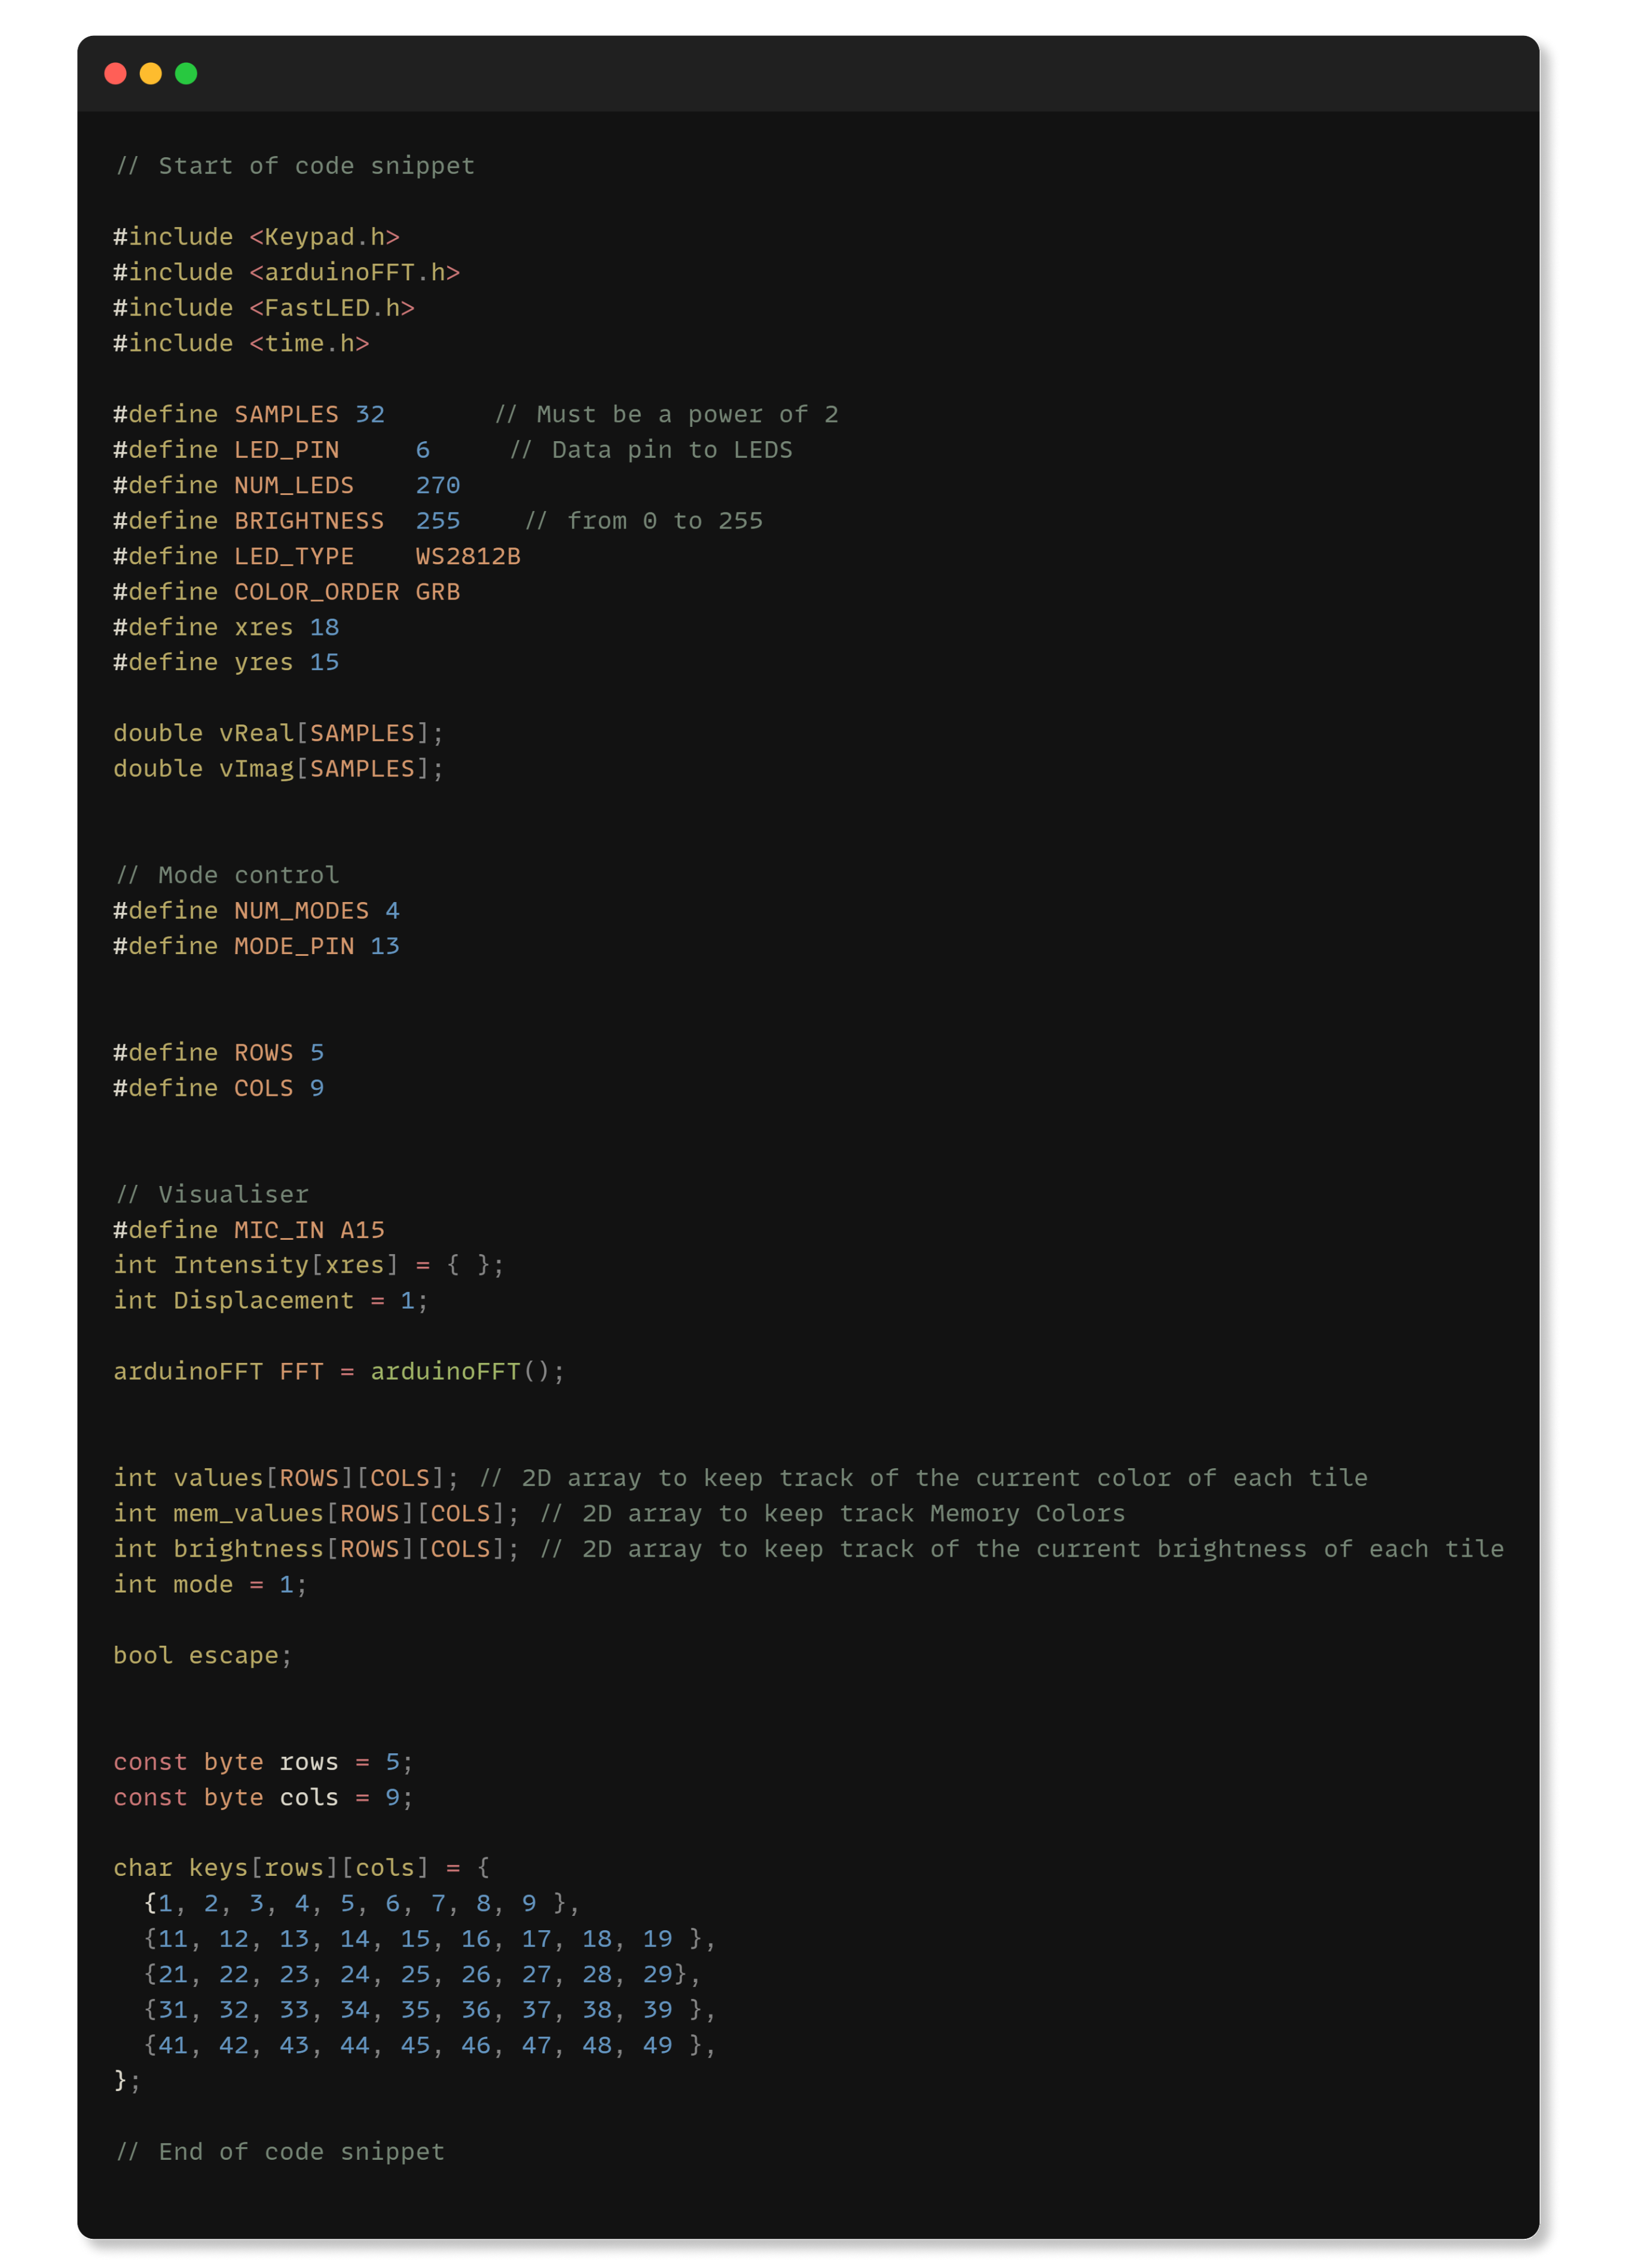
Code
Project Timeline
Our team started working on Deeno on February 1, 2023, and finalised the project on May 31, 2023 - spanning 17 weeks overall. Take a look at TinkerLab's blog entries following this timeline.
Critical Reflection
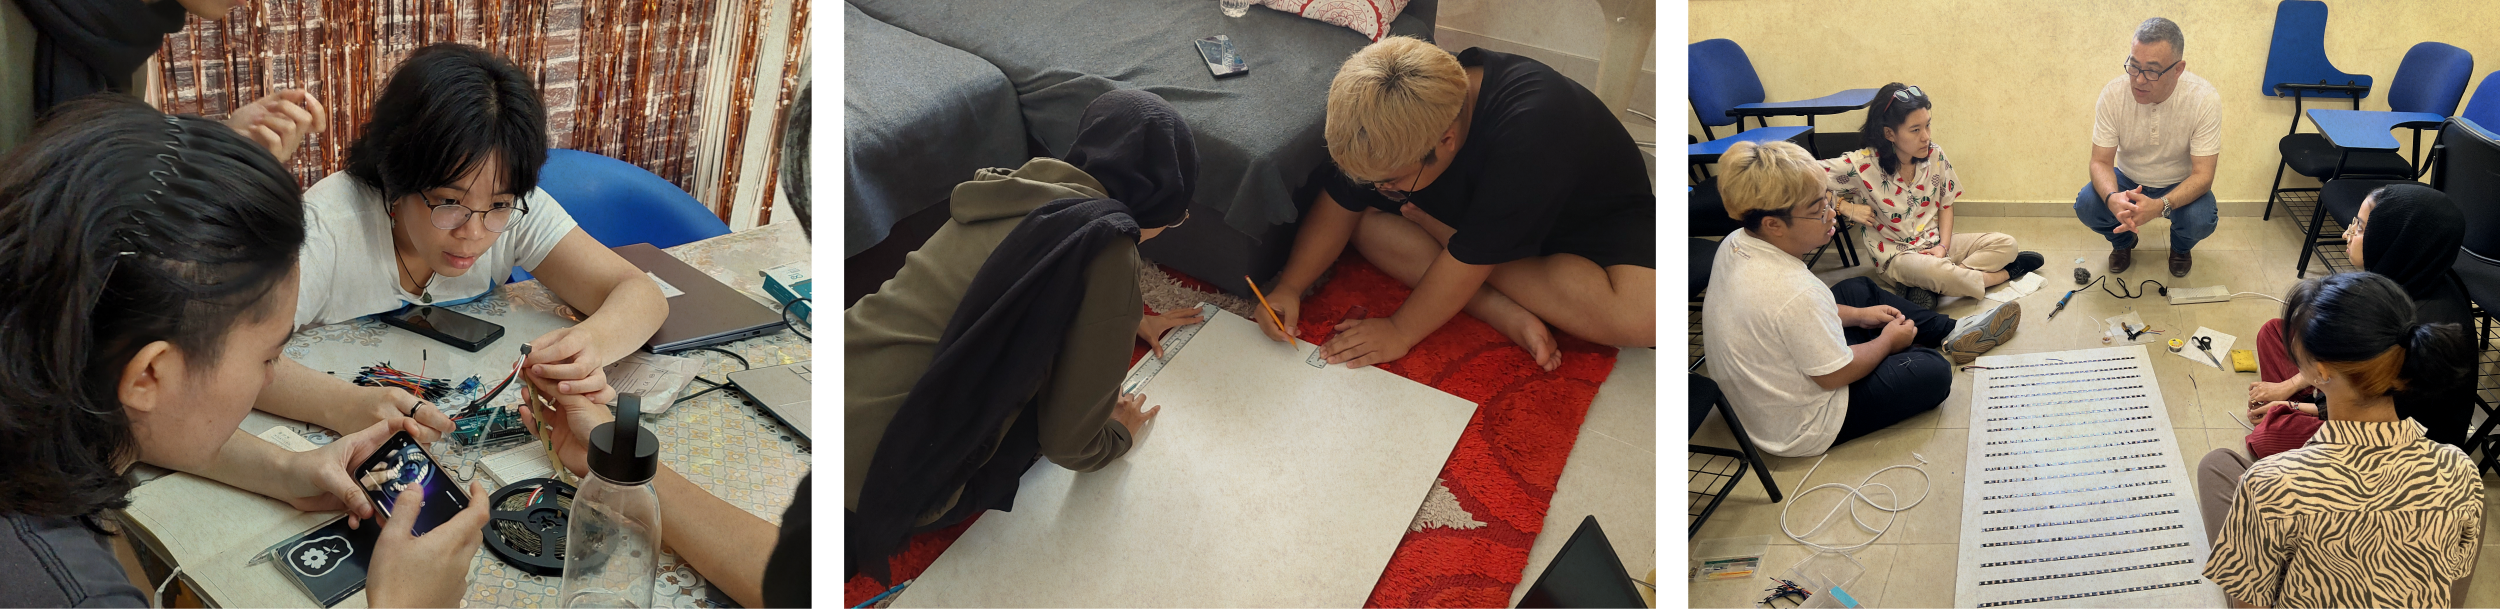
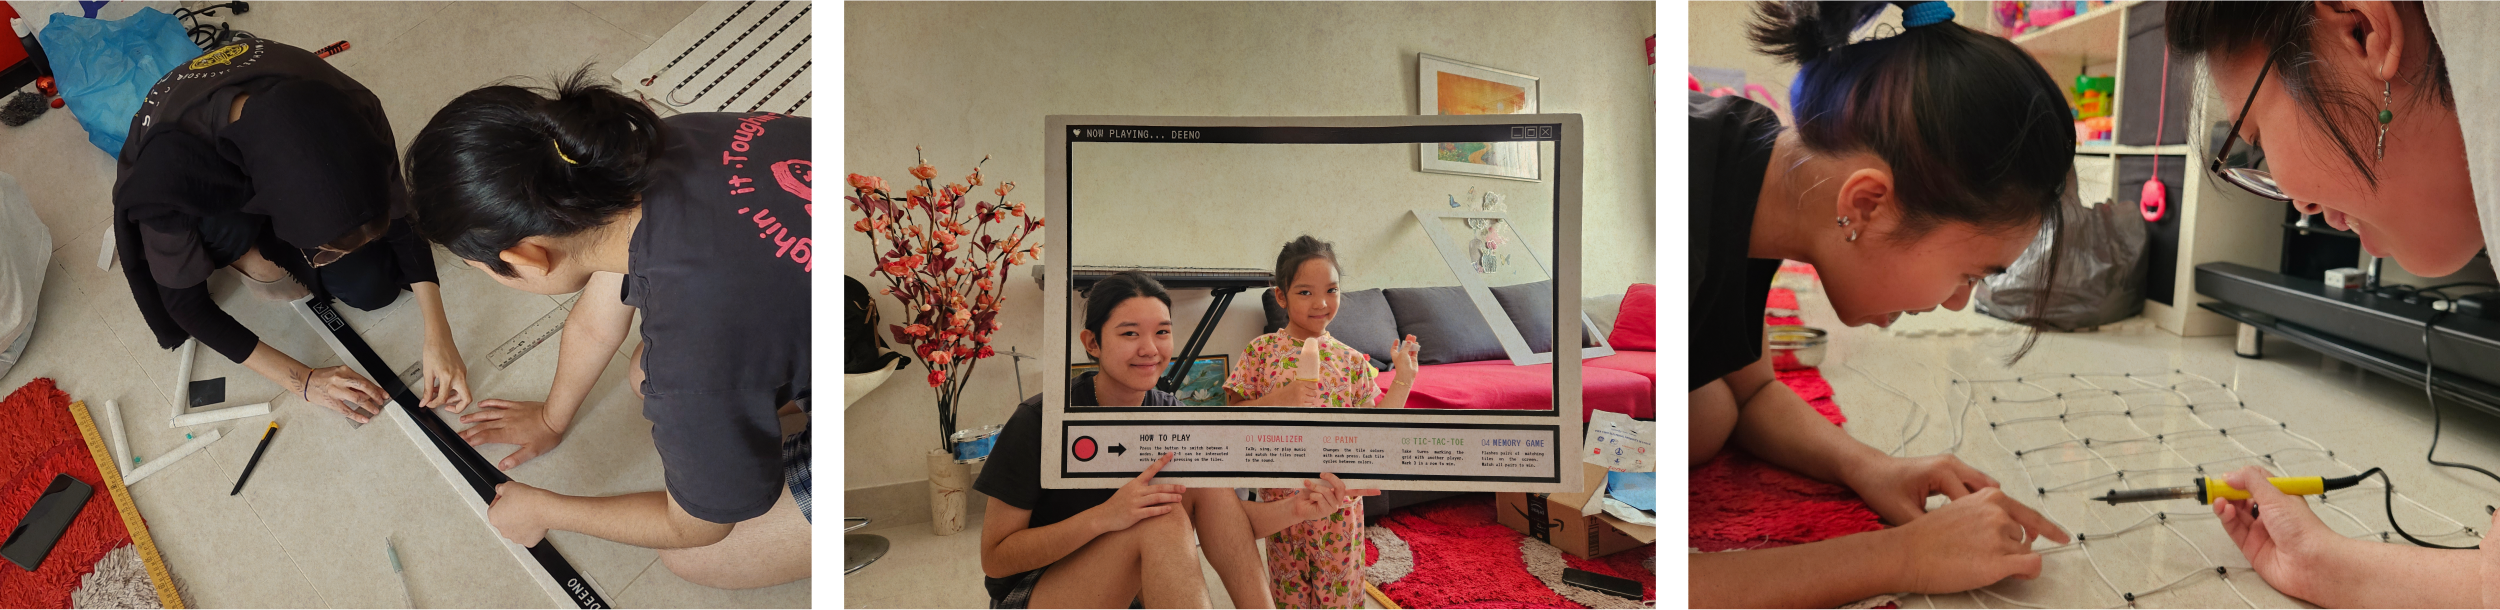
Working with this project, and working with the team that I had was a truly fulfulling experience. Although we went into it with almost zero experience in working with electronics, the process of having to learn from scratch and seeing our efforts take form was definitely rewarding. I can confidently say that our project would not be able to reach its current state if it weren't for the effective teamwork between the members of our group. While each team member primarily focused on their designated role, we ensured a collaborative atmosphere, where everyone contributed and supported each other throughout every step of the project's evolution.
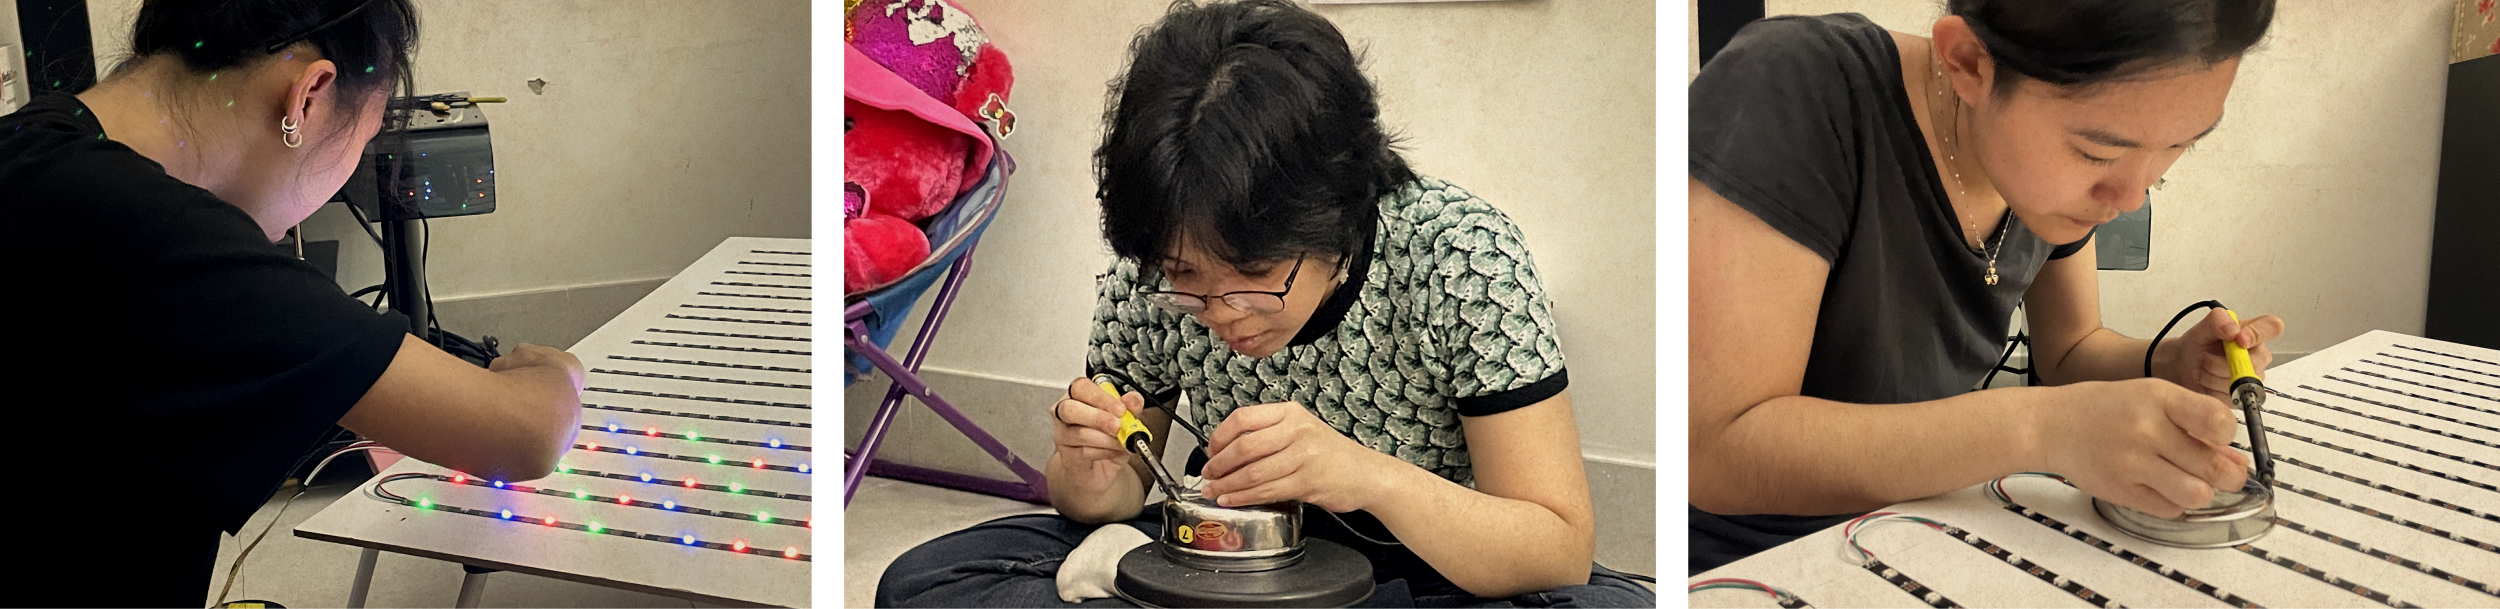
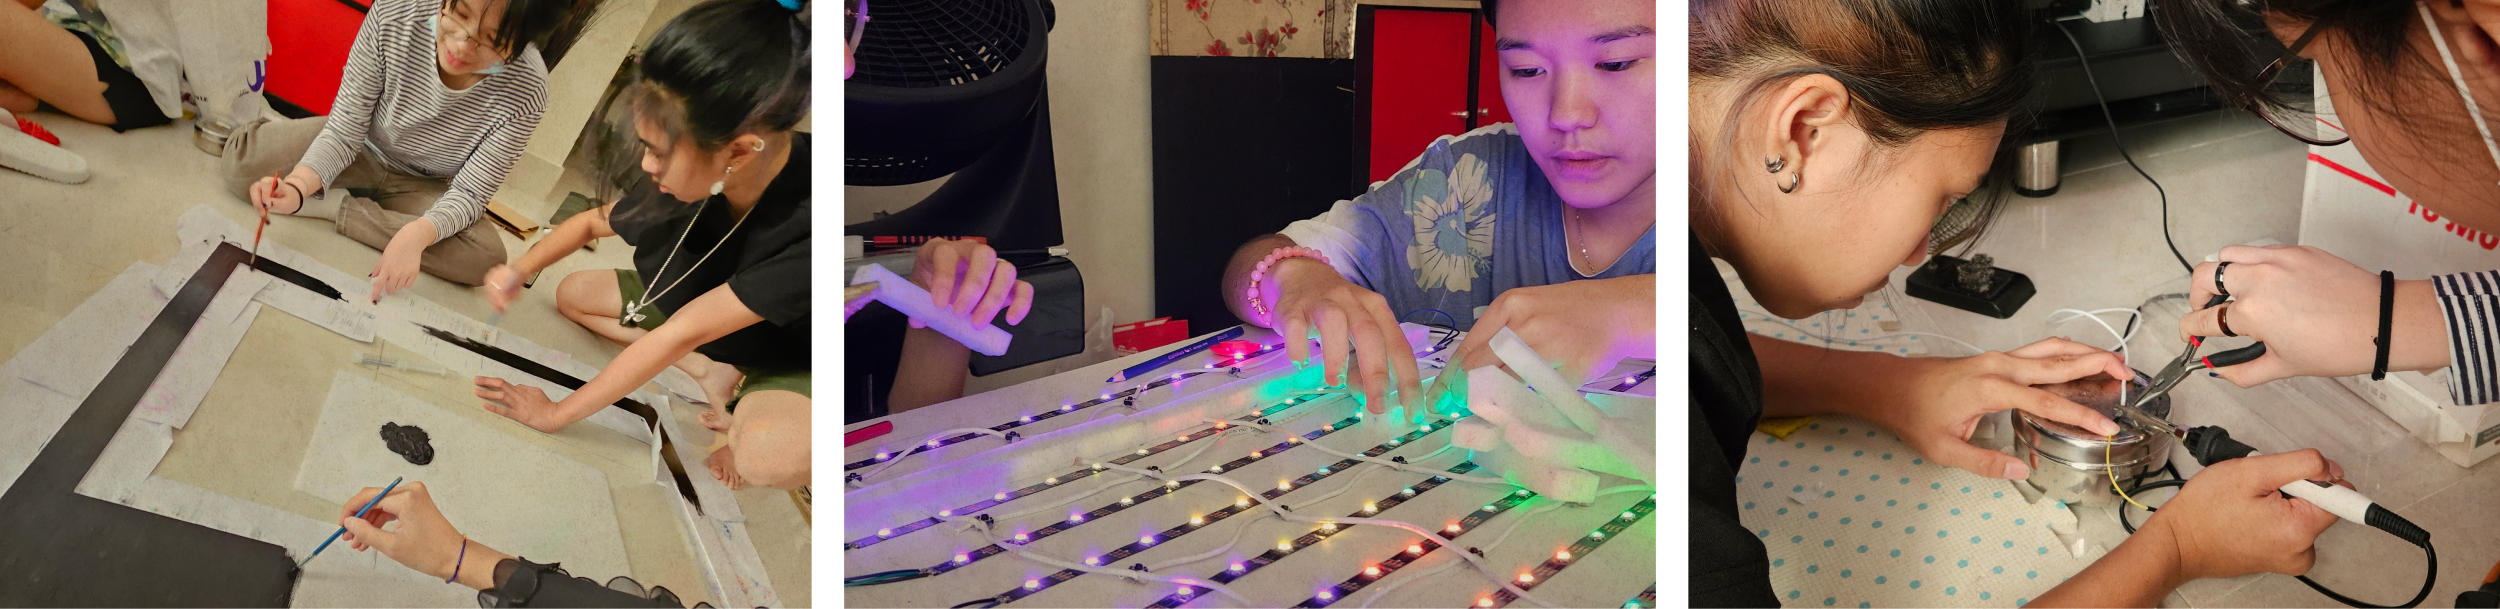
During the development stages of Deeno, I mostly took on roles related to soldering and other manual assembly work - such as soldering portion of the button matrix and the wiring, along with sanding, painting, and other similar tasks. The time I spent soldering was a gradual learning curve, but it ended up being a task I would look forward to working on. From this, I wish to take the techniques learned while soldering and implement it in future physical computing endeavors. I would also be interested in exploring other roles within other similar projects, such as coding in C in the Arduino IDE.
In terms of the final state of the project itself, I am satisfied with the current level of functionality - especially considering the obstacles that have been surpassed to get there. When we first started ideating for the selected concept, a part of me was expecting that we would have to compromise our concept features or that we would not be able to achieve it all in time. I feel very fortunate that I was proven wrong. On the other hand, Deeno definitely has room for improvement, particularly when it comes down to the project stability. Although it is now uncommon, there are often times when one of the tile buttons would not work as expected when pressed. Additionally, the supporting material for the board's outer frame is not as strong as it could be. I will only have to hope that the students of the next academic year would still be able to play with Deeno - as intended.